SunHelp-Support Ticketing System
Projects
- Projects
- Add Projects
- Assign Projects
- Import Projects
- Projects :
Navigate to the
Admin Panel->Projects. On this project page, you’ll see "Add Projects," "Assign Projects," and "Import File" buttons. - Add Projects : To create a new project, click on the "Add Projects" button. A modal pop-up will appear with the "Project Name" input field. Type the name in the input field and click on the "Save" button to apply the changes. The newly created projects will appear in the "Projects" table below.
- Assign Projects :
To assign projects to a single or multiple categories, first the project must be created, or if you have already created projects, then click on the "Assign Projects" button. A modal pop-up will appear with the "Select Category" dropdown menu. Choose the categories from the dropdown to assign projects to a single or multiple categories, and then click on the "Save" button to apply the changes.
Note :You can only assign the projects to those categories that are only viewed in tickets.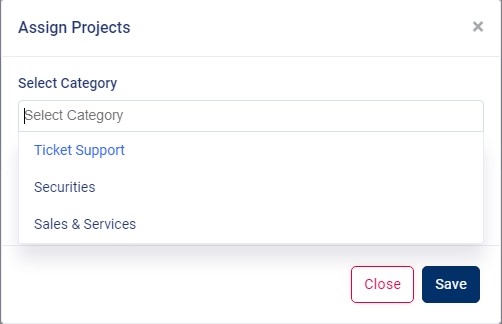

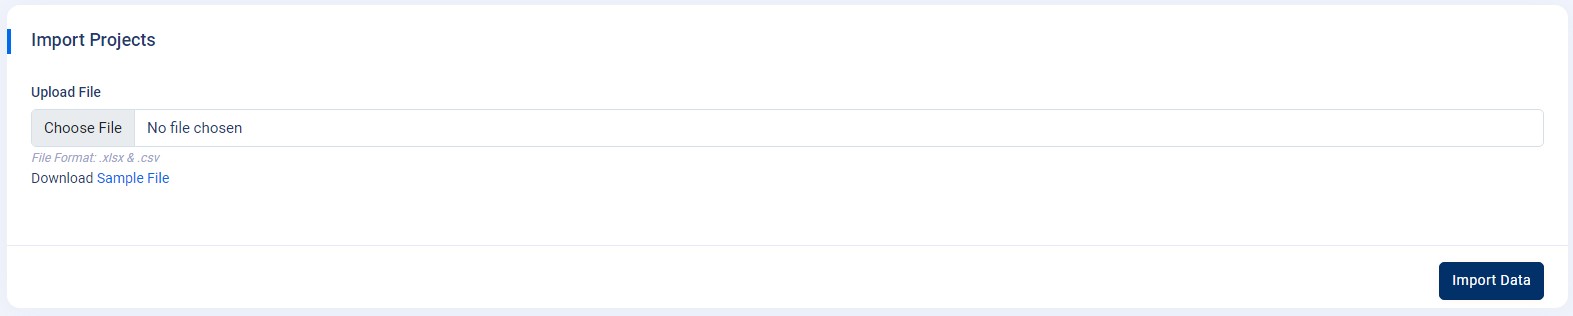
- Import Projects :
To import a large number of projects at once, click on the "Import File" button that will redirect you to the "Import Projects" page. Now click on the "Download Sample File" link below provided on the "Import Projects" page to download the "Sample File" of "projectsample.csv," then enter the names of projects in the column of "projectname" and save the file.
Choose the "projectsample.csv" file you saved earlier and upload it to the upload file option, then click the "Import Data" button. There are two options. "Edit" and "Delete" on the "Projects" table in the "Actions" column. By clicking on those two buttons individually you can also edit the existing projects' names, and you can also delete the projects permanently.